1 Aug 2023
- 1 Aug 2023
How to Clean a Barbour Jacket
HOW TO CLEAN A BARBOUR JACKET
With proper care a Barbour waxed jacket can last decades, by correctly maintaining your trusted jacket you can sustain both performance and timeless aesthetic even when exposed to the harsh elements. To achieve this longevity, we recommend that you sponge clean and reproof your jacket on an annual basis.
Upkeep of a wax jacket isn’t as complicated as you may think and can be done at home, however there are a few steps that you will need to follow to ensure you do not damage your jacket. If you don’t feel confident with the reproofing stage or your jacket needs a repair, you can send it to our experienced team to carry out this work for you with our repair & rewax service.
It’s important to remember that each type of jacket has a slightly different cleaning process so we’d always recommend checking the care label before commencing cleaning, particularly as waxed and non-waxed products have different care instructions. This guide will take you through the best practice for keeping your wax jackets in top condition, whether that be a full clean or a spot treatment.

How to clean a Barbour wax jacket
Before we get started on what to do to clean your jacket, we must first establish what you should never do. It should be noted that you will need to clean your jacket by hand, so before you commence cleaning make sure that you have enough time to complete the process. Never try to hasten the process by placing your jacket in the washing machine as this can strip the wax coating which keeps your coat weatherproof, and this coating cannot be reapplied. Additionally, we would not recommend taking your jacket to the dry cleaners as the harsh chemicals can affect this coating too.
When it comes to drying your coat, avoid using the tumble dryer or placing it in direct sunlight as prolonged exposure to the heat can cause damage to the jacket, instead opt for a cool but well ventilated place to allow your jacket to dry. Bearing these pointers in mind, follow this step-by-step guide to continue cleaning your jacket.
1. Brush excess dirt away
Lay your jacket on a flat surface and use a dry soft bristled brush to remove dirt, dust, and any excess wax. Make sure to gently wipe away the dirt and do not clean using a scrubbing motion or use any abrasive brushes on the jacket.
2. Wipe down
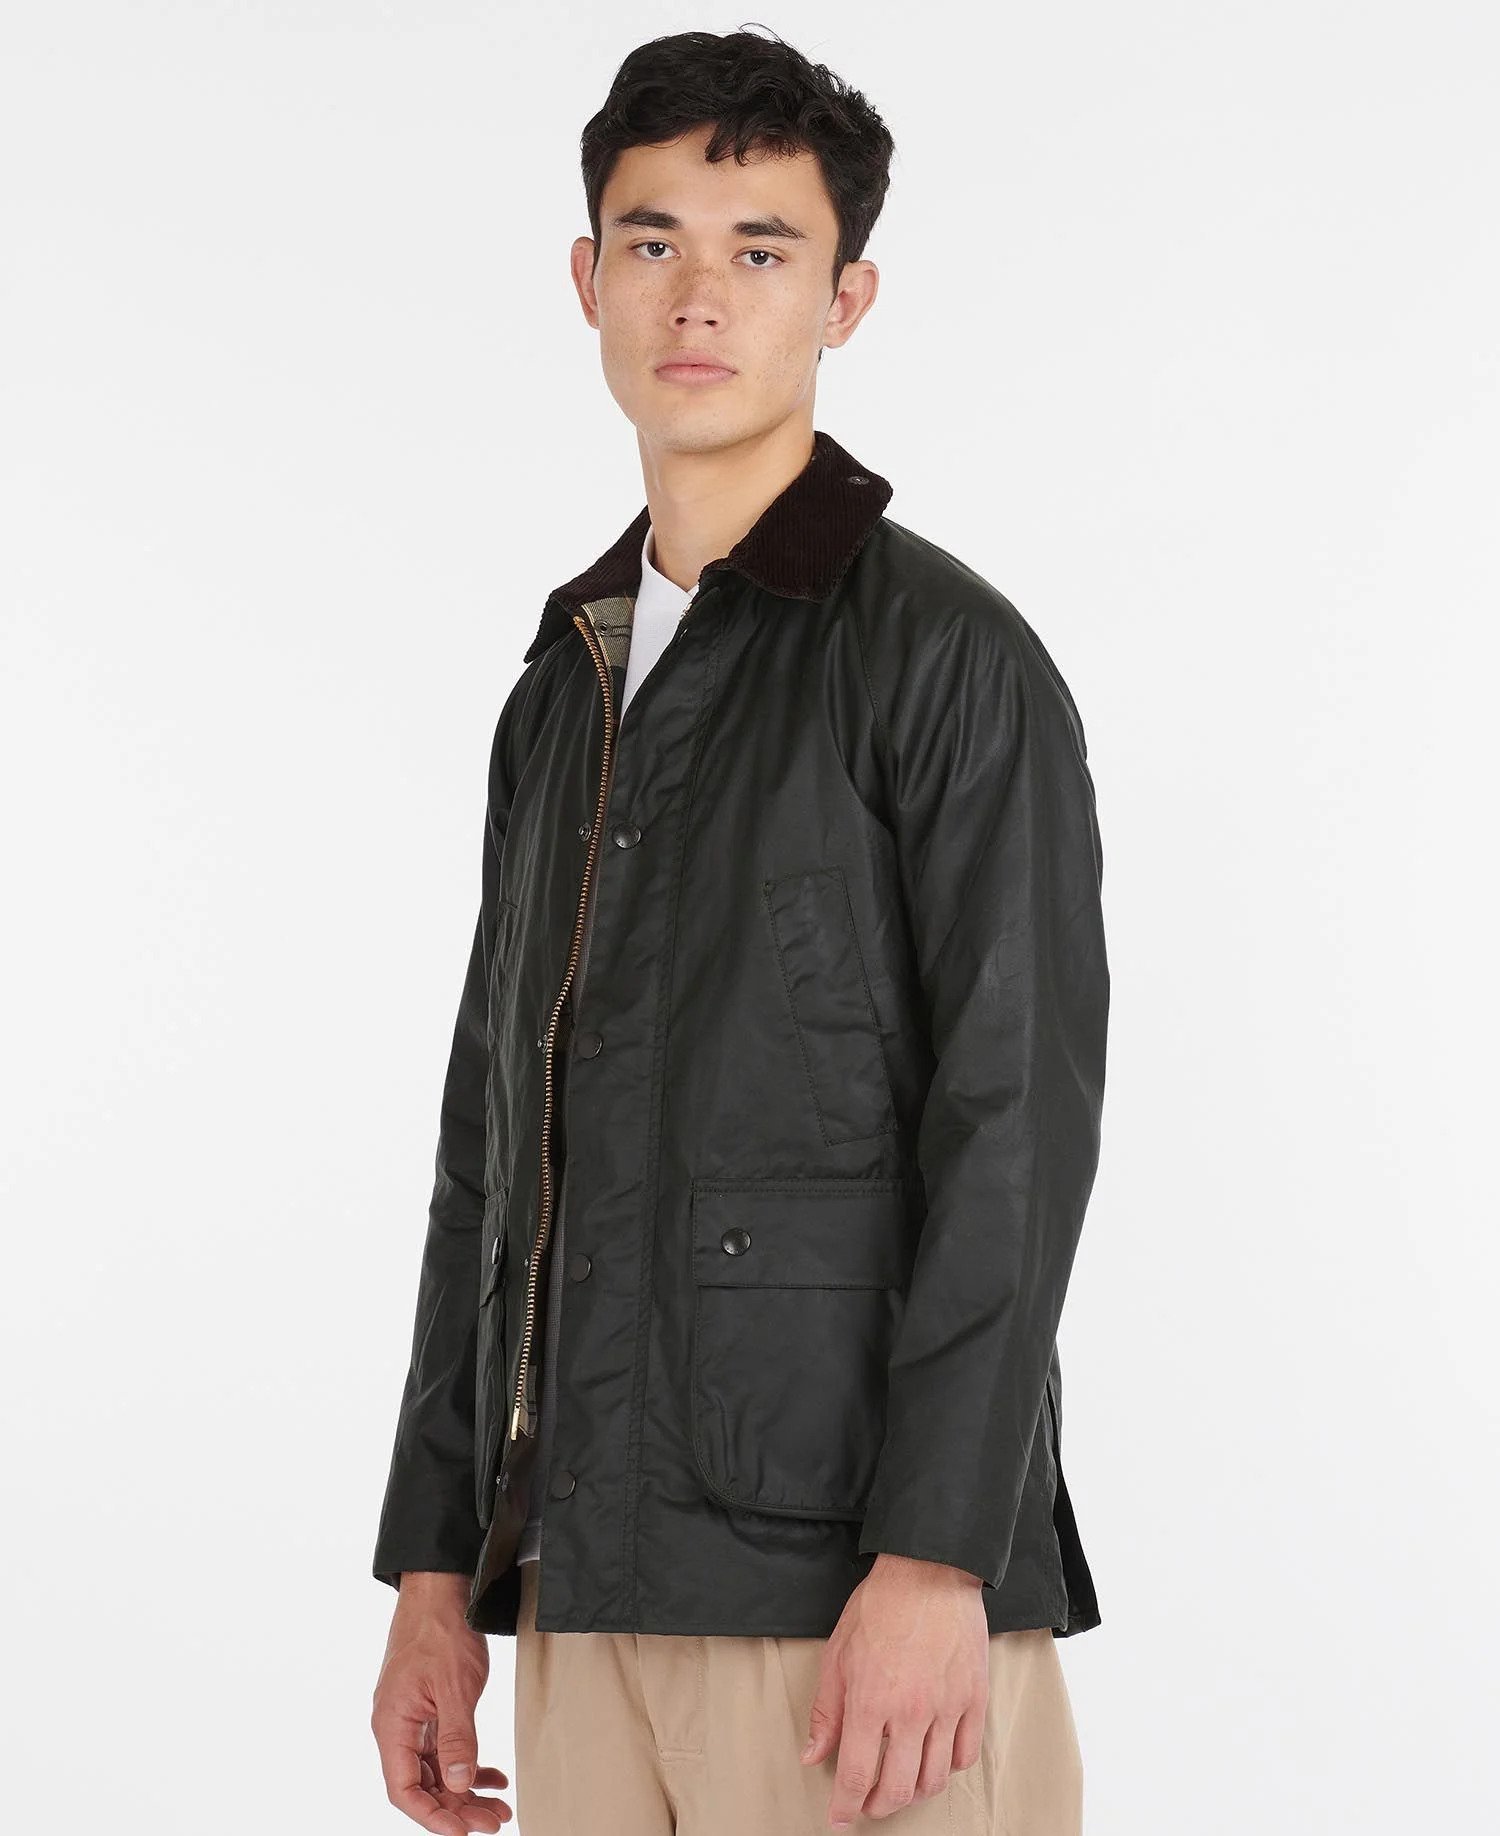
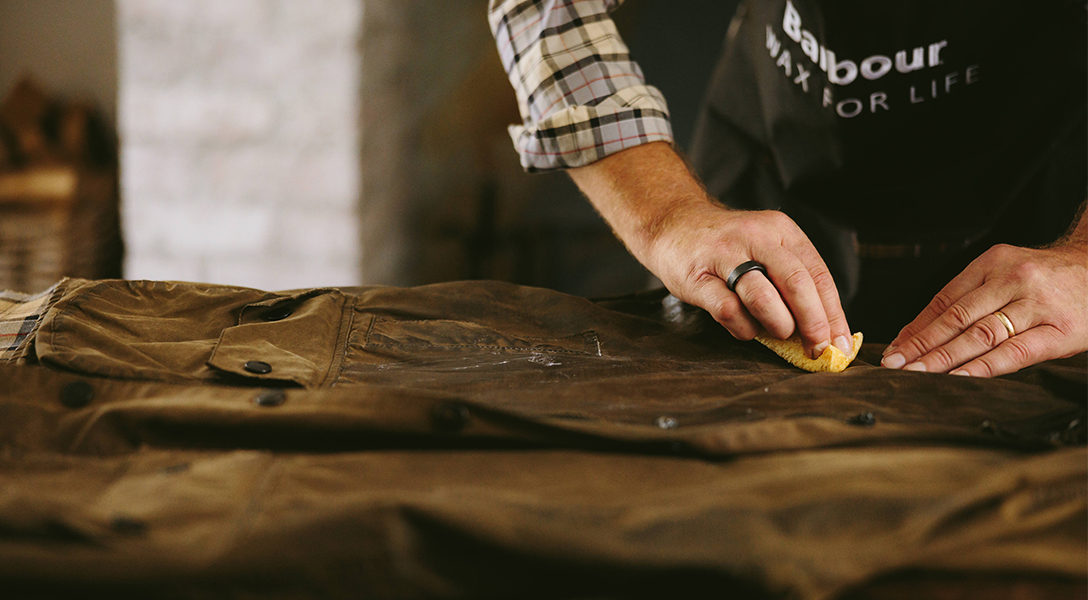
Using cold water and a moleskin cloth or sponge, wipe down the outside of the jacket to remove the rest of the dirt. Never use any kind of soap or detergent as this will damage your jacket. Many of our waxed jackets in both classic and contemporary styles such as the SL Bedale also feature a corduroy collar. We recommend turning the collar up and paying extra attention to the underside, as this can easily be forgotten when cleaning. If your jacket has upturned sleeves, you should also turn these down whilst you clean your jacket.
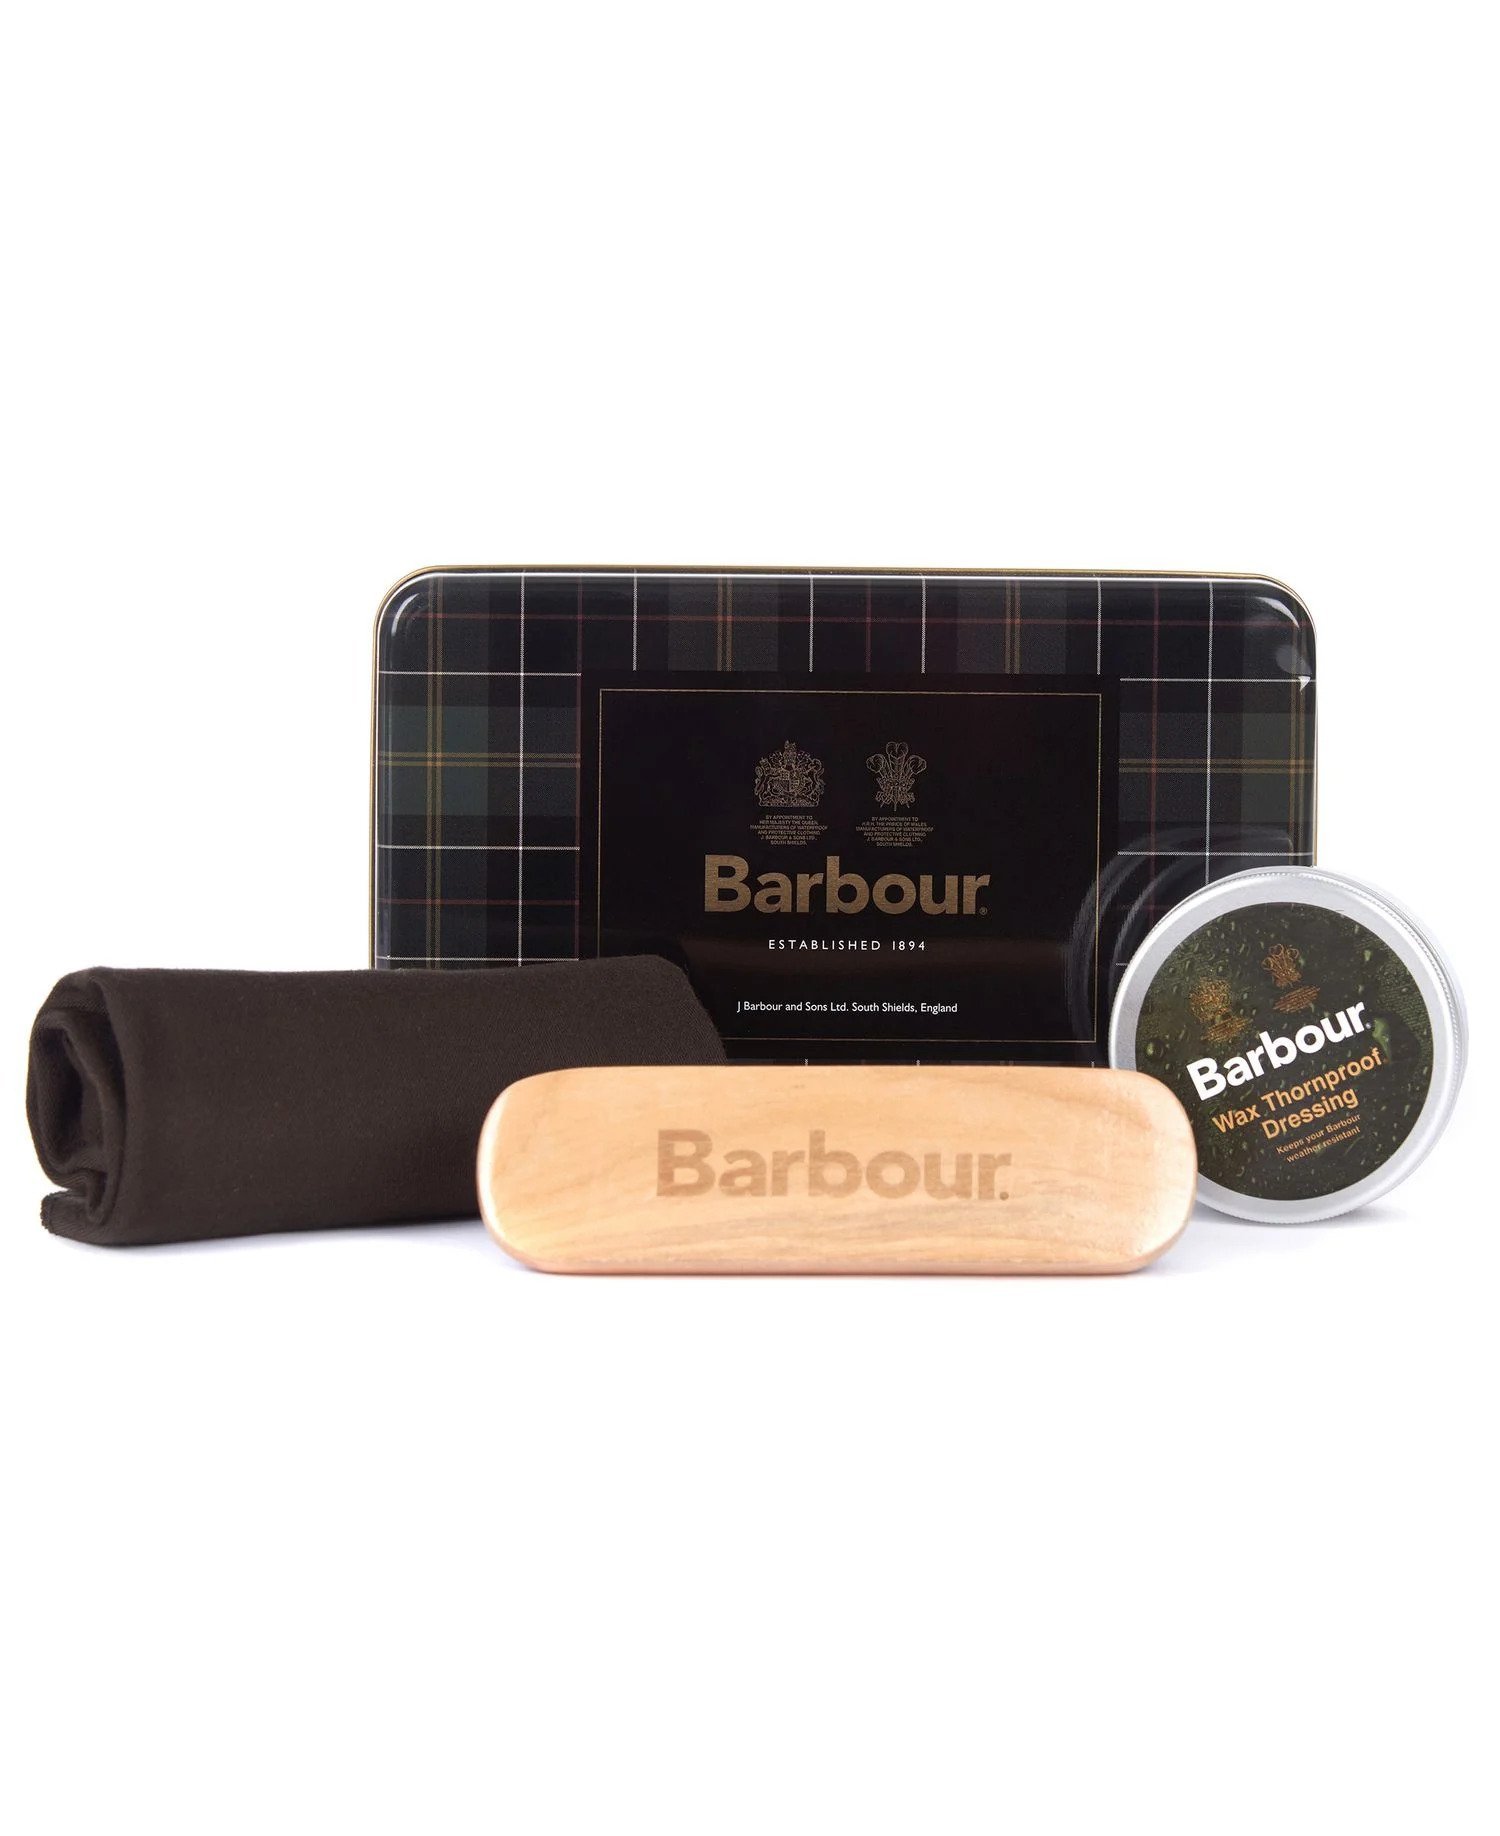
If you’re unsure about what equipment is best to use to gently clean your jacket, we recommend using our Barbour Jacket Care Kit. The kit comes complete with a soft bristled brush and moleskin cloth, as well as a dedicated tin to store your cleaning apparatus.
3. How to clean the inside of a Barbour wax jacket
To clean the inner lining, you can dampen the cloth or sponge in white vinegar and apply this to the lining before carefully removing. This will help to neutralise any odours and remove mould or mildew. Never let the vinegar sit for more than ten minutes. This step can also be used for spot treatment where necessary.
4. Dry
Once your jacket is clean, leave it to hang dry in a well ventilated area out of direct sunlight. Make sure that if applicable, the collar on your jacket is turned up to prevent mildew from forming underneath. If you have taken the time to clean the linings of your pockets, make sure that these are turned out too for thorough drying.
After these steps have been completed, it is time to reproof your jacket. You can send the jacket to our reproofing service or do this at home using our thornproof dressing.
How to rewax a Barbour jacket
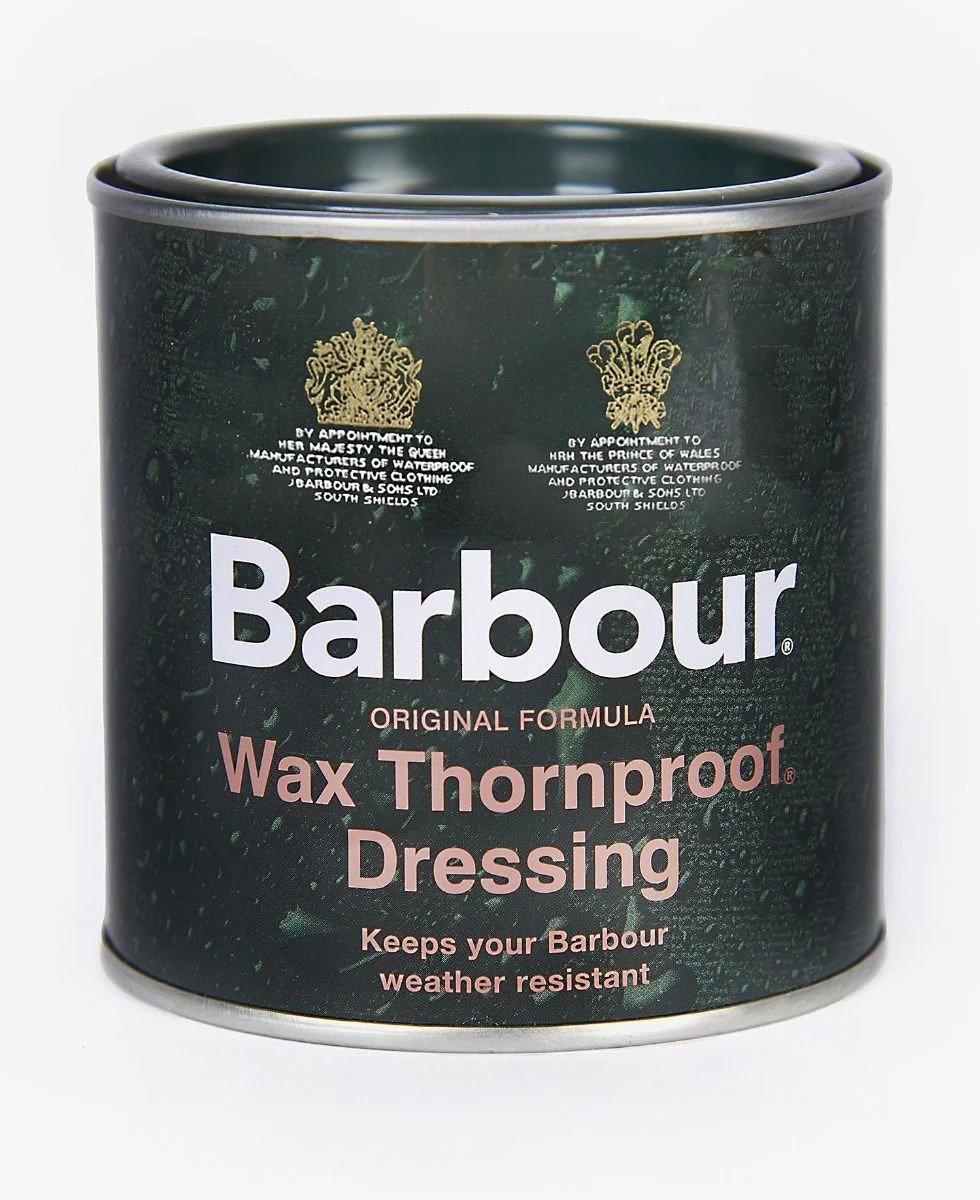
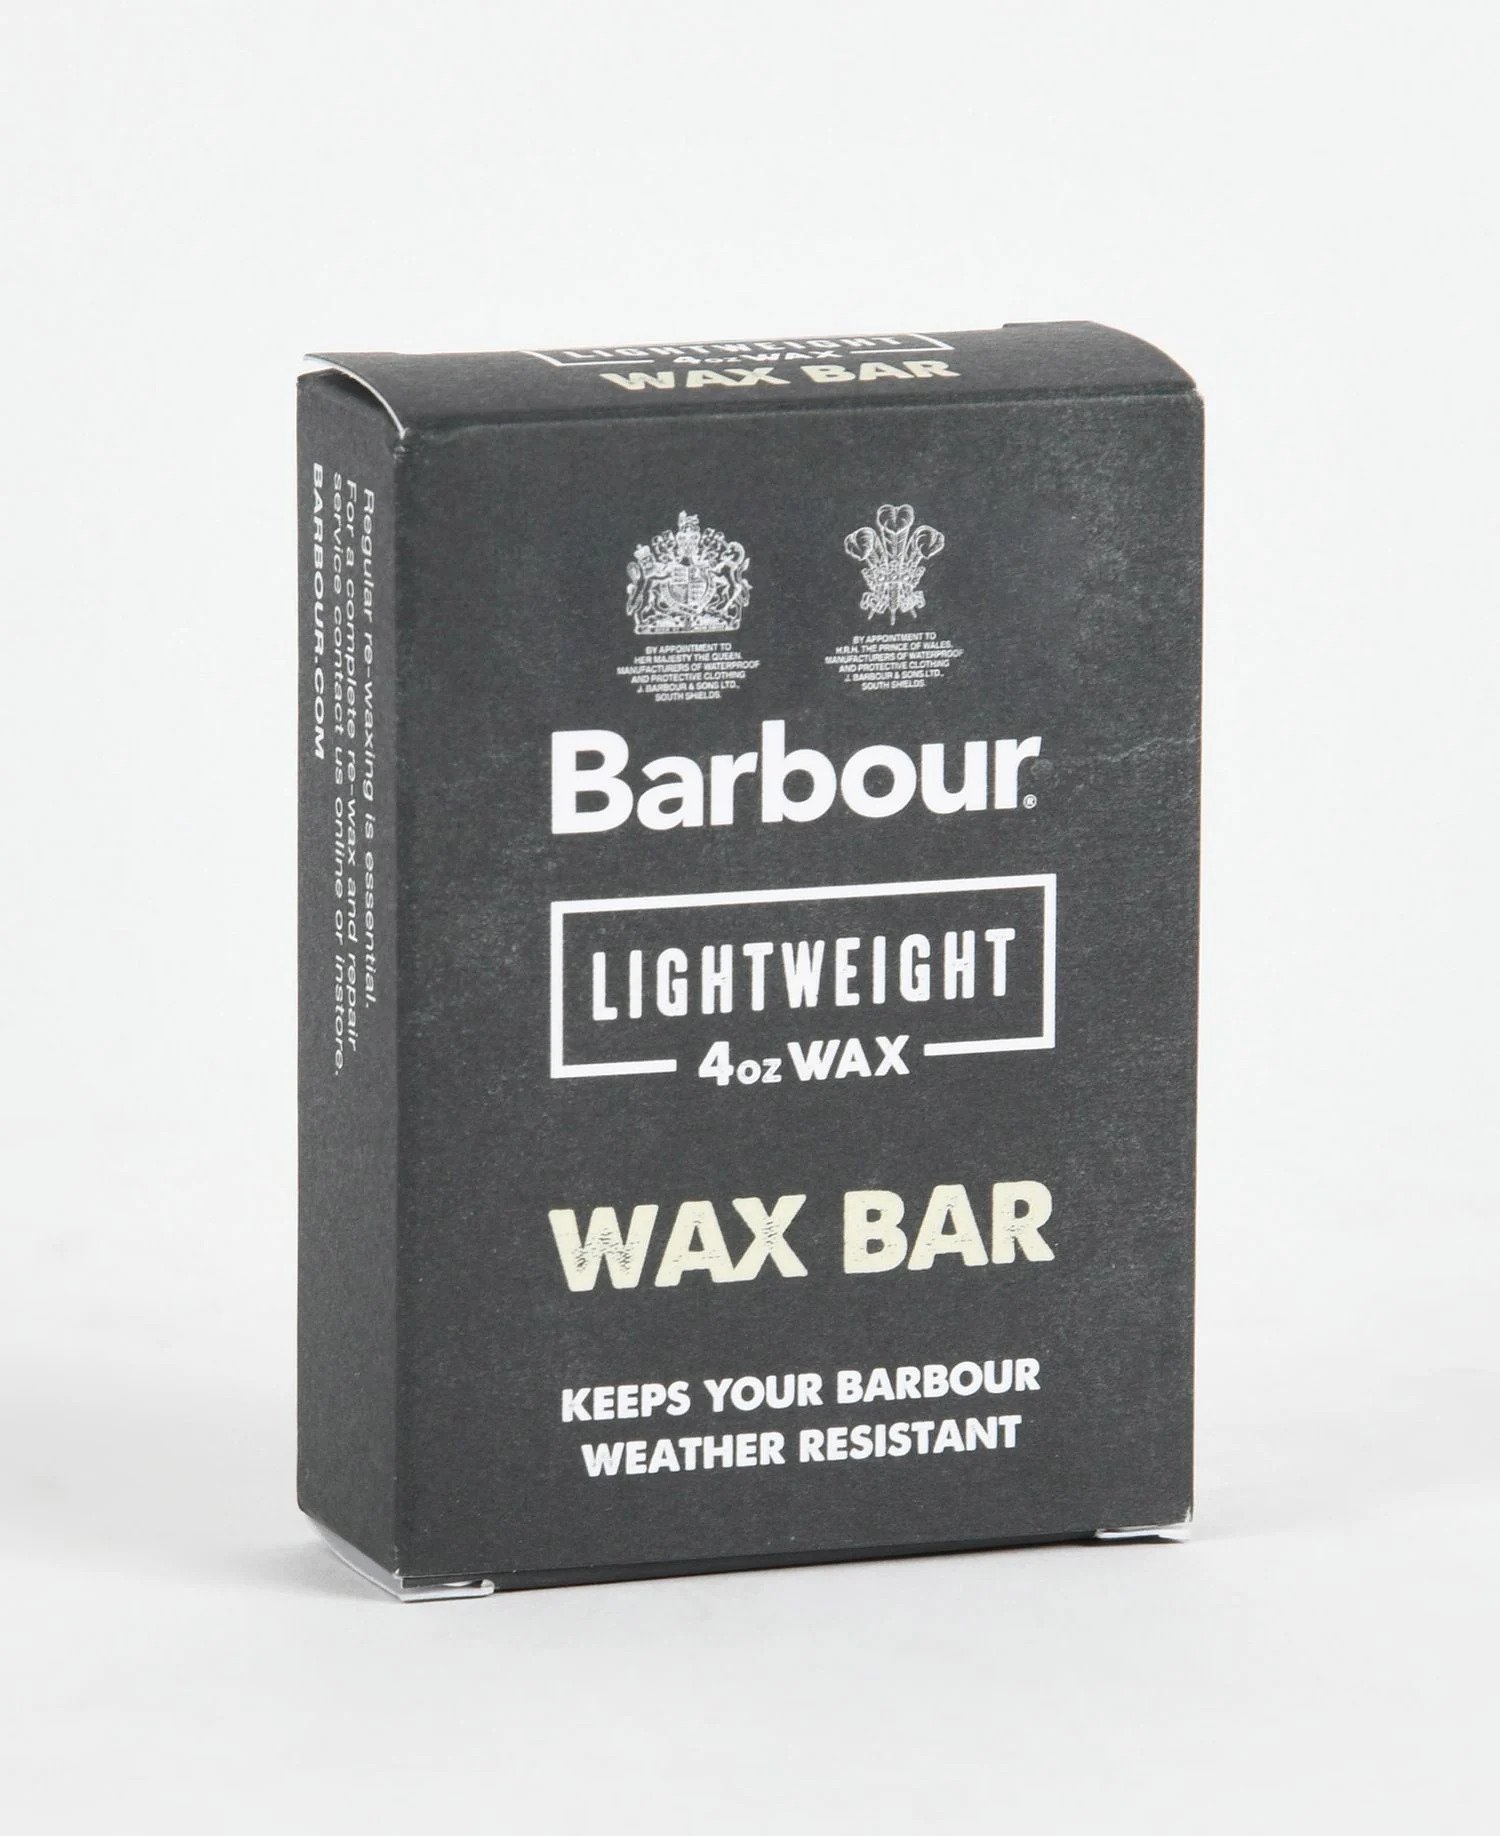
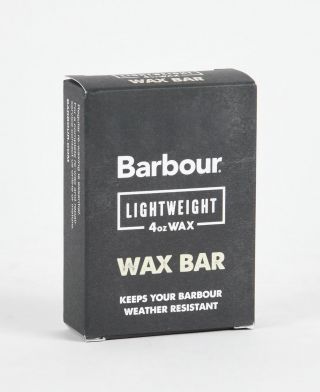
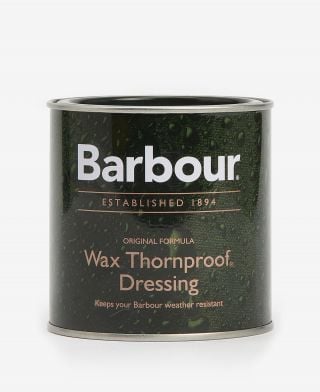
For a thorough and detailed guide to reproofing your jacket, we recommend consulting our Wax for Life Hub as the process can be slightly different depending on the type of jacket and weight of the wax. Many of our customers who choose to reproof their jacket at home opt for our Thornproof 6oz Wax Dressing as this is one of our oldest and most loved options, it is also available in a family size to keep every Barbour jacket in the household in great condition. However, a lightweight 4oz option is available in the form of wax bar for those who prefer this option.
How often you need to reproof your jacket depends on how often you wear it. As a guideline it is strongly advised that you complete this process once a year to ensure the wax coating retains its quality.
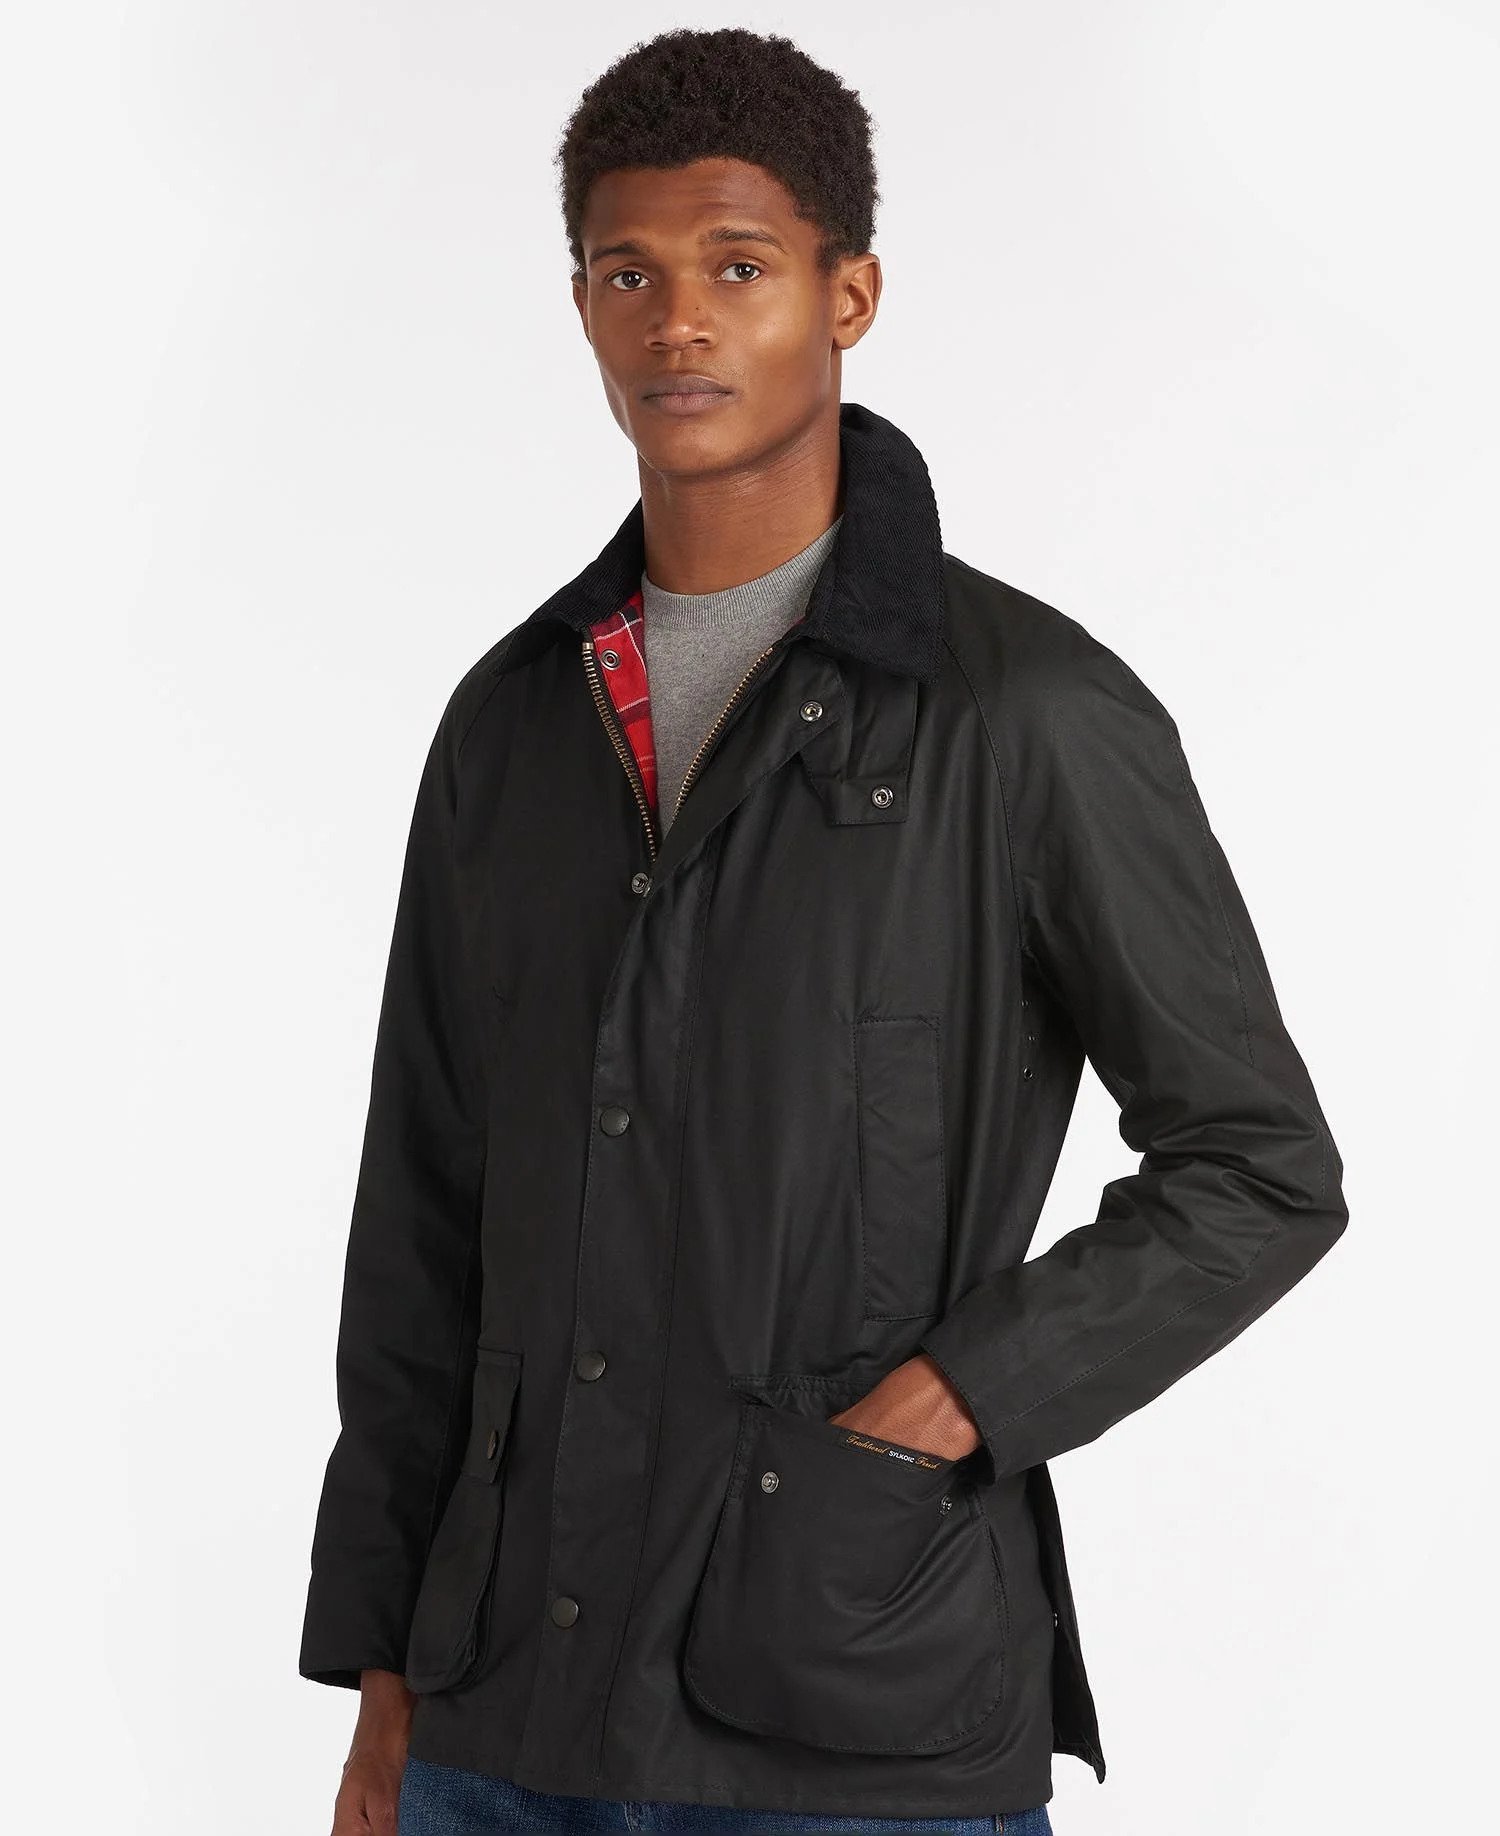
For our most popular styles such as the Ashby Jacket and the Classic Bedale, it is advisable to use the classic 6oz Thornproof dressing, as these jackets have been constructed using our signature 6oz Sylkoil coating.
ABOVE: Classic Bedale and Ashby Jacket
Whichever option you choose, you will need to ensure that you have the right tools to reproof your jacket. If this is your first time reproofing at home, you may wish to opt for the mini reproofing kit. This kit contains a small tin of Thornproof Wax Dressing complete with instructions, as well as a sponge applicator and tartan cloth for precise rewaxing. It is worth noting that you will need access to hot water to stand the tin of wax in for up to 20 minutes, this will allow the wax to take a liquid state for easy application.
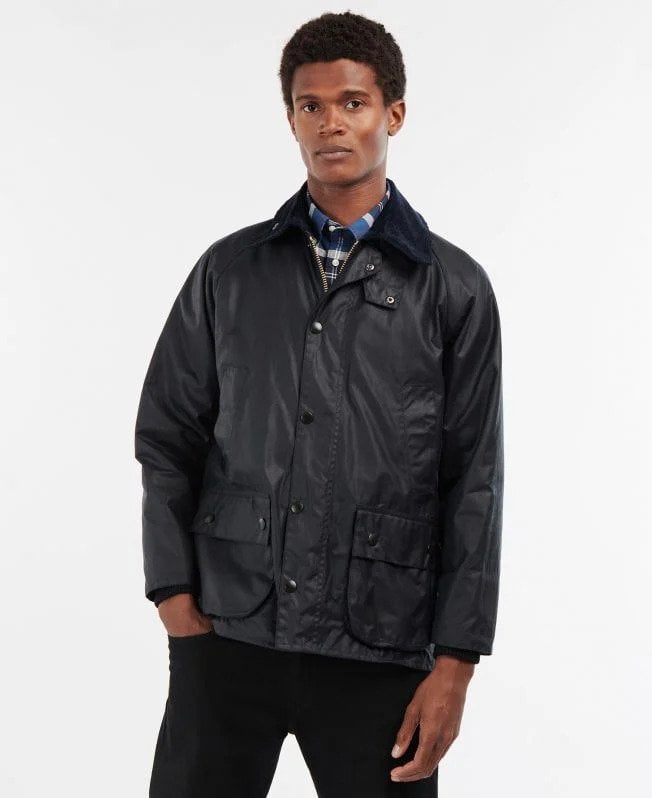
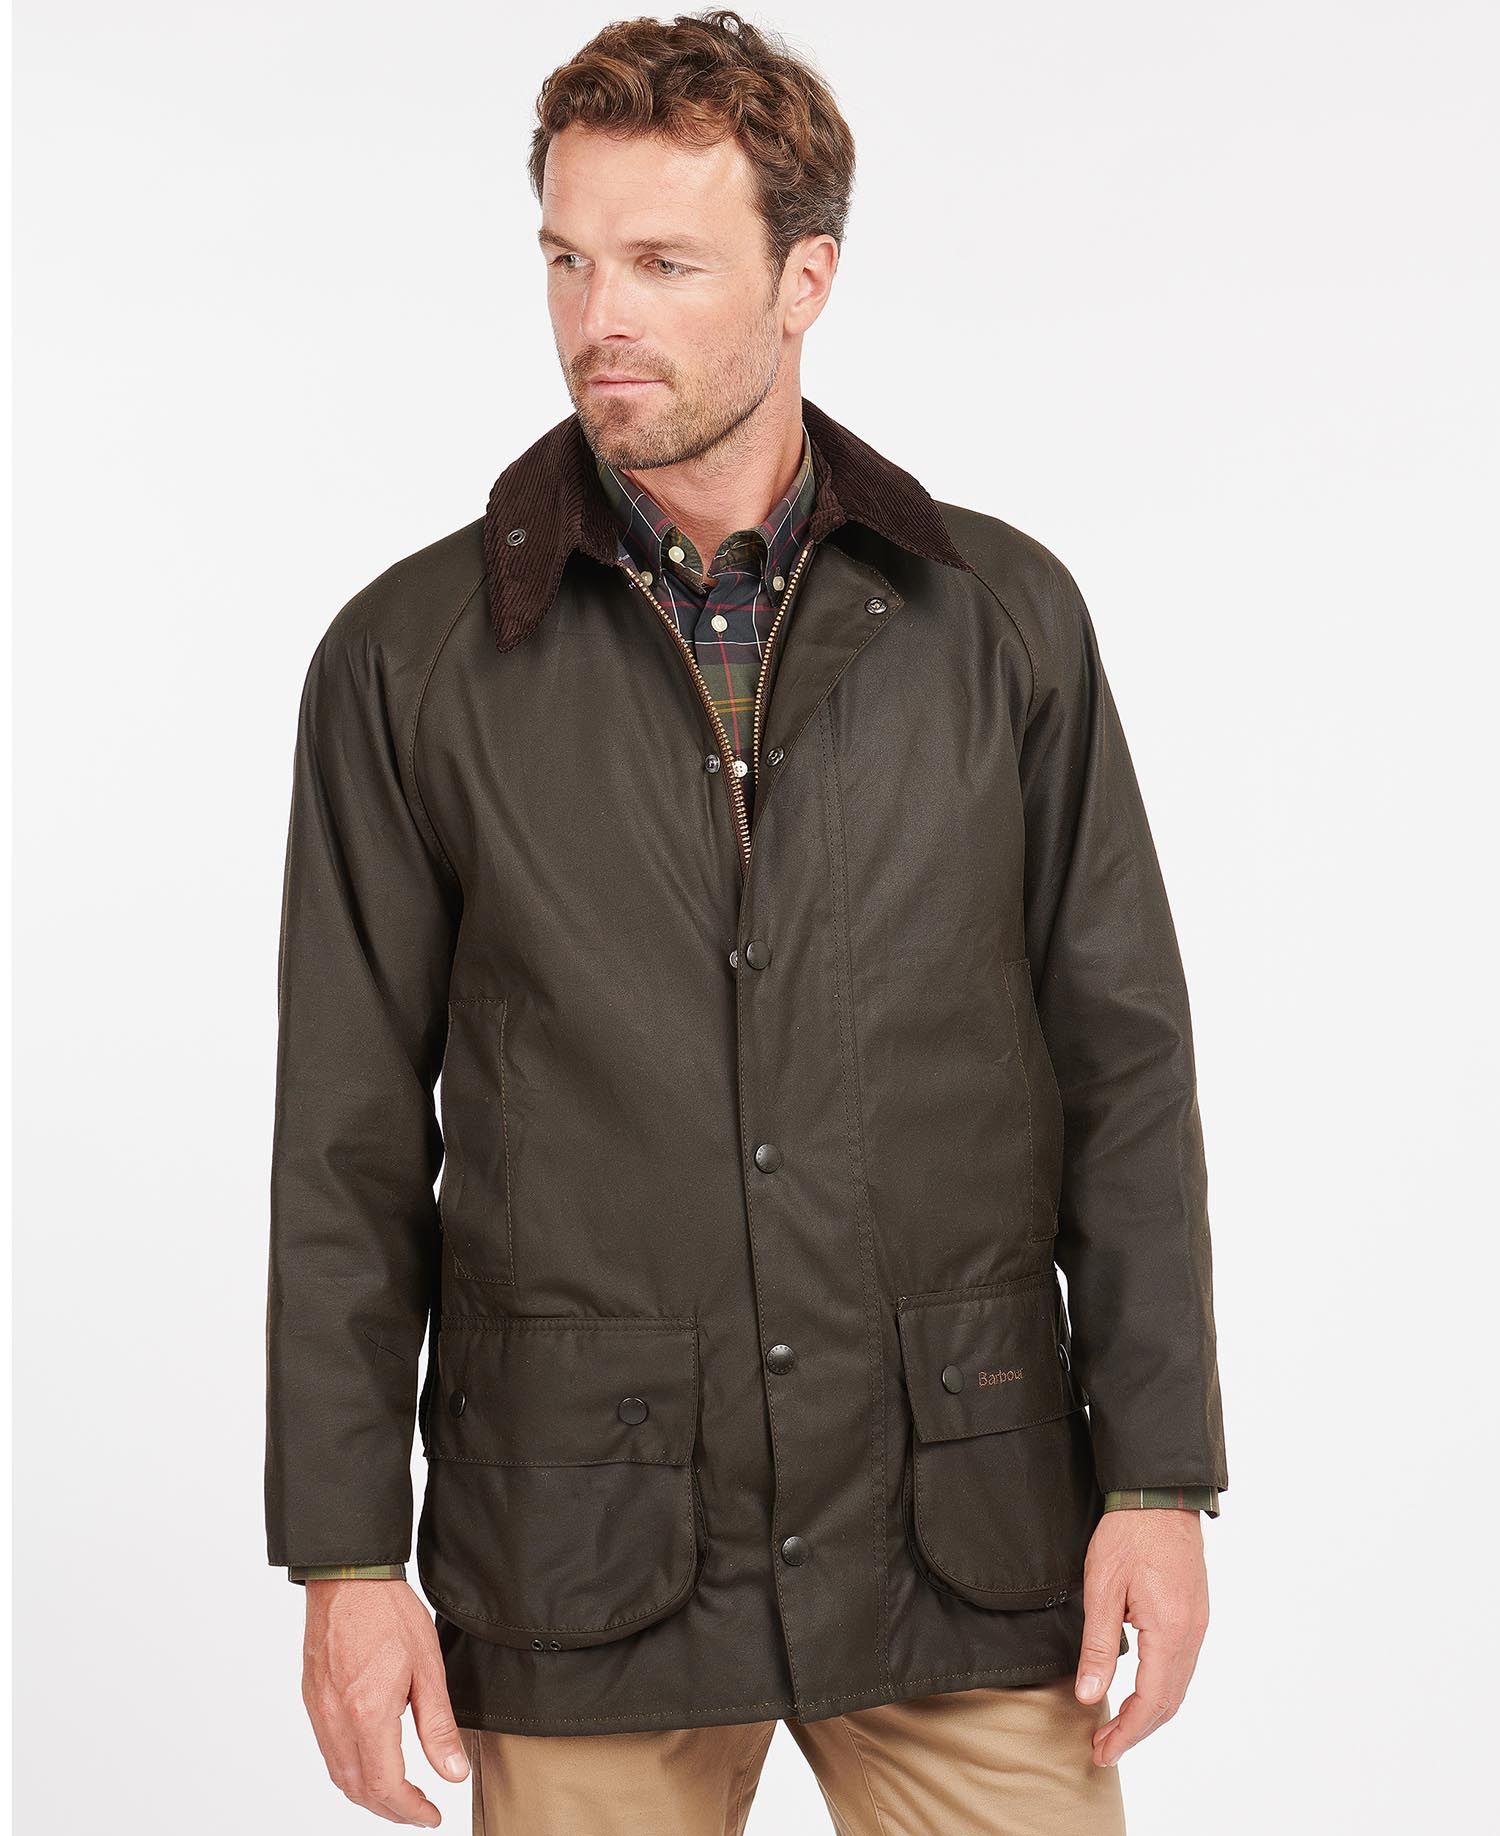
Rewaxing your jacket may temporarily alter the appearance of your jacket, but this depends on the colour and style of the jacket. For example, the Classic Beadnell in olive may appear darker and have more of a sheen until the excess wax is lost, however a jacket such as the Bedale in a rich navy hue won’t be affected.
ABOVE: Classic Beadnell and Navy Bedale
Some of our jackets also boast a number of practical features that need to be taken into consideration when cleaning or reproofing. The Classic Beaufort Jacket has a studded collar in which to attach an optional hood, both jacket and hood will need to be cleaned and reproofed at the same time to ensure that they age together and a colour match is maintained.
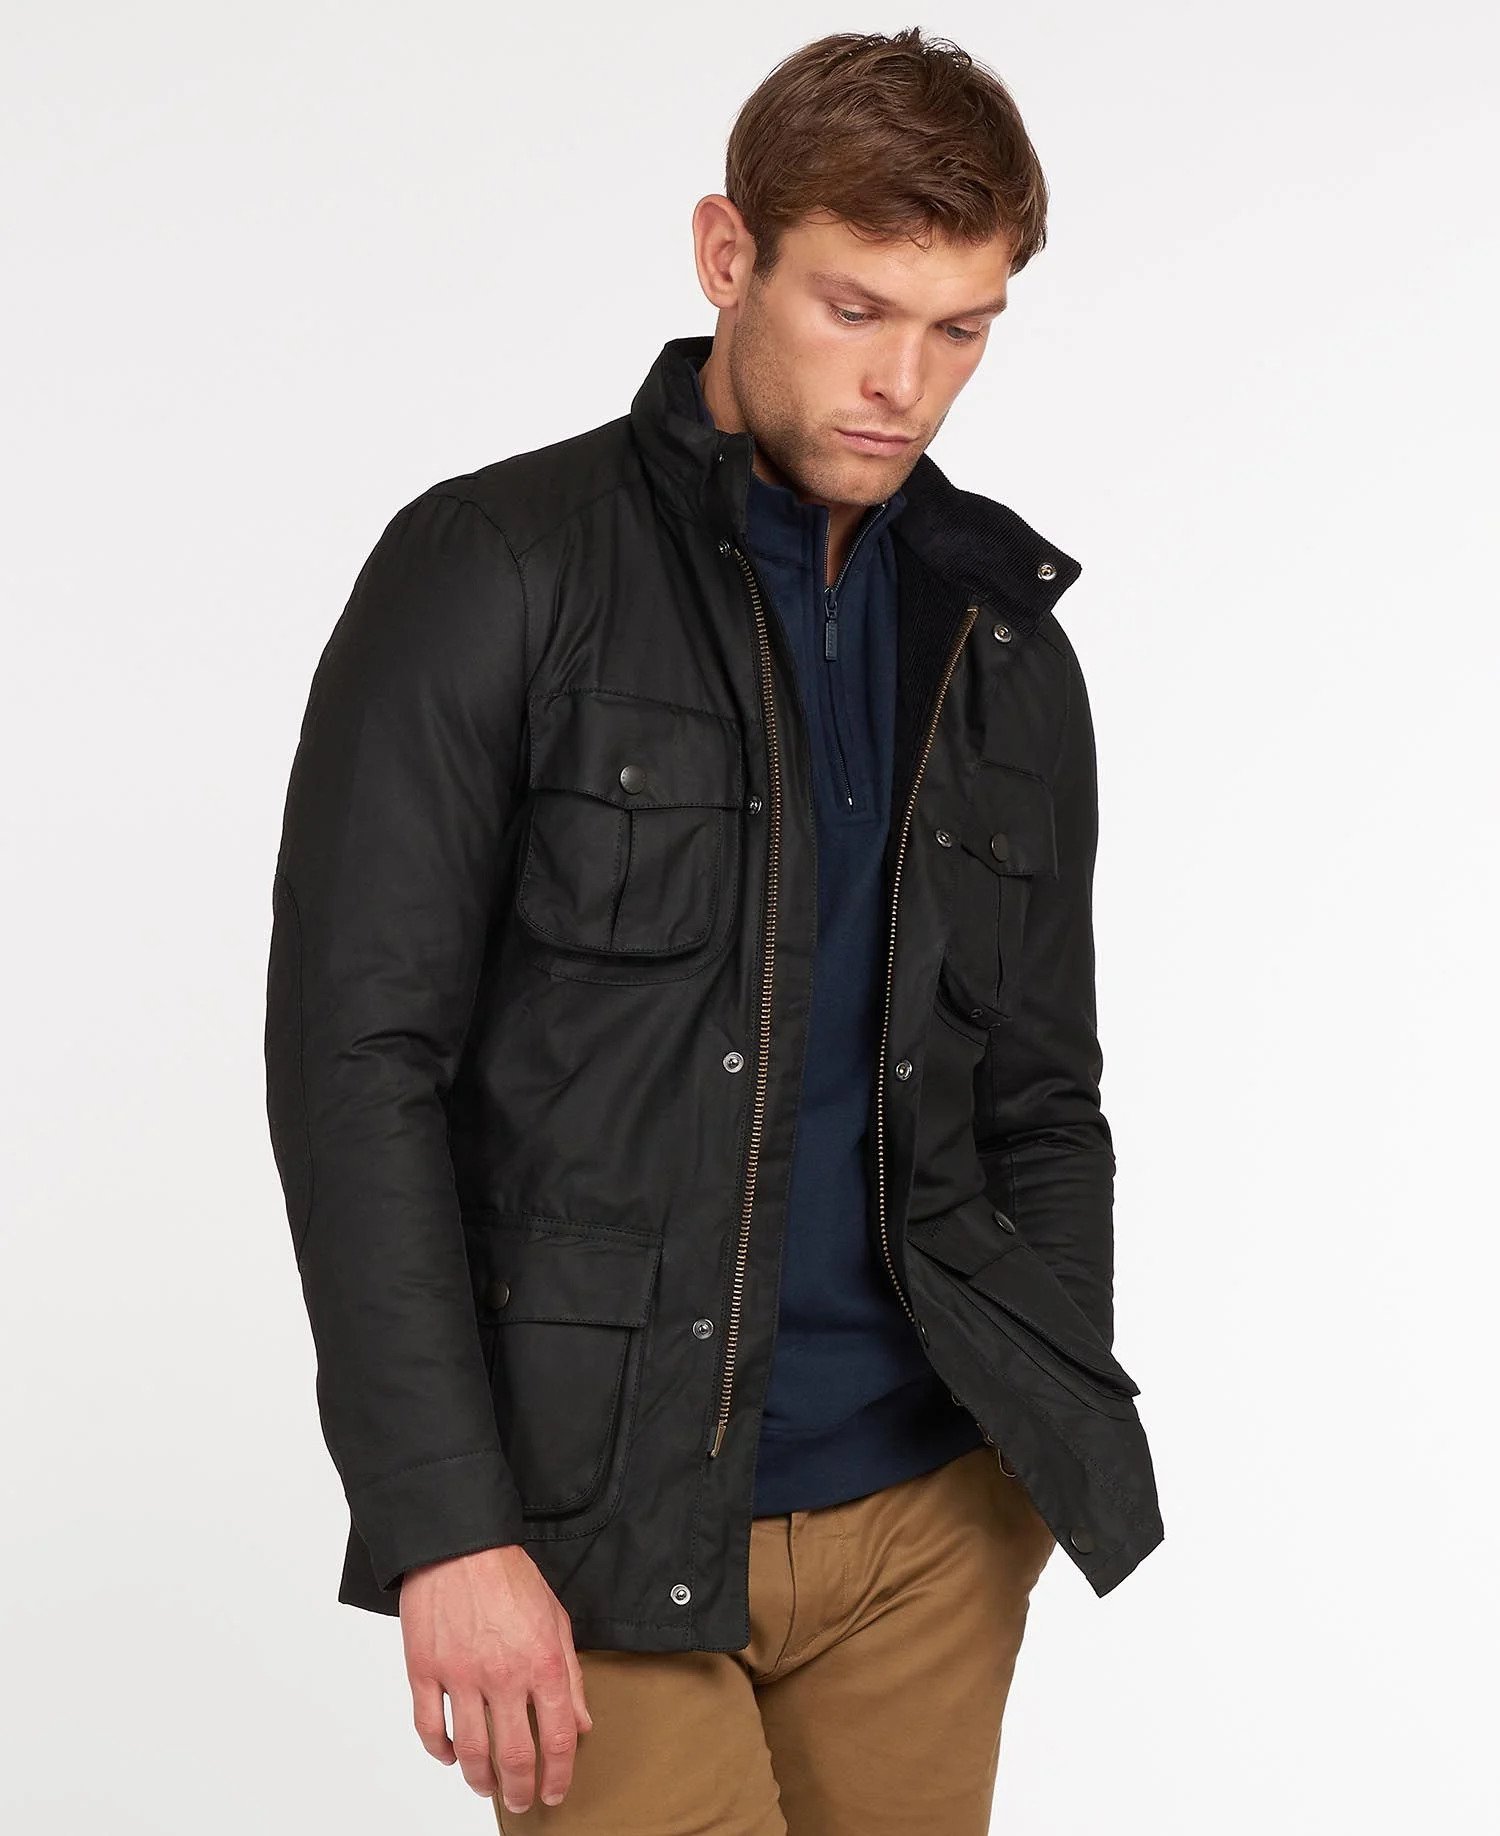
Alternatively, the Corbridge Wax Jacket features an integral nylon hood in the funnel collar, this will need to be cleaned alongside the coat but put away when reproofing as the wax is not suitable for nylon.
ABOVE: Classic Beaufort and Corbridge Wax Jacket
Once your jacket is reproofed, leave it to hang-dry overnight away from other garments or upholstery as a newly waxed jacket can lose excess wax which may stain or damage other fabrics.
Most of our jackets follow a similar cleaning and reproofing process, including our wax dog coats. However, should you have one of our non-waxed quilted or waterproof styles you may wish to use our Nikwax Tech Wash, for these items. This product is not suited for waxed cotton, but will help to ensure that your non-waxed waterproof jackets remain in great condition through every clean.
Keep your waxed jacket looking brand new
Now that we’ve established the cleaning process, it’s time to give your jacket the care it needs to carry on protecting you from the elements. We would always recommend checking the care label in your jacket before you start cleaning. If, after consulting the label, you have any questions, our helpful FAQ and rewax guide will be able to give you further information.


